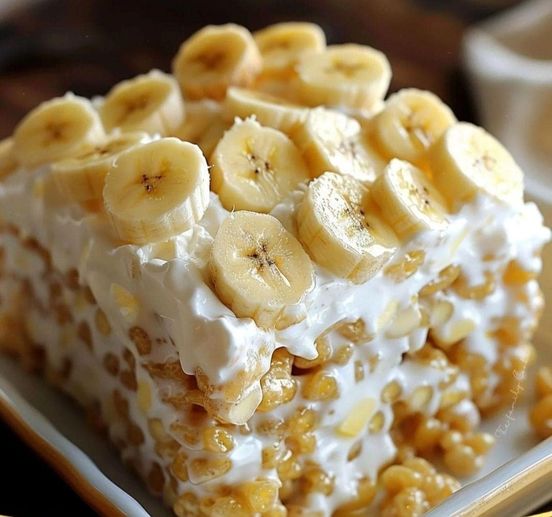
Creating a Rice Krispie layer can be a delightful addition to various desserts, providing a crunchy, sweet foundation. Here’s a simple recipe to prepare a classic Rice Krispie layer:
Rice Krispie Layer
Ingredients:
– 3 tablespoons unsalted butter
– 1 package (10 oz) mini marshmallows
– 6 cups Rice Krispies cereal
– 1/2 teaspoon vanilla extract (optional)
Instructions:
1. **Prepare the Pan**:
– Grease a 9×13 inch baking pan with butter or non-stick cooking spray. You can also line the pan with parchment paper for easier removal later.
2. **Melt the Butter and Marshmallows**:
– In a large saucepan, melt the butter over low heat.
– Add the mini marshmallows to the melted butter and stir constantly until they are completely melted and the mixture is smooth. This process should be done on low heat to prevent the marshmallows from burning.
3. **Add Vanilla Extract (Optional)**:
– If you’re using vanilla extract, stir it into the melted marshmallow mixture.
4. **Combine with Rice Krispies**:
– Remove the saucepan from the heat.
– Add the Rice Krispies cereal to the melted marshmallow mixture. Stir until all the cereal is well-coated with the marshmallow mixture.
5. **Press into the Pan**:
– Pour the mixture into the prepared baking pan.
– Using a buttered spatula or wax paper, press the mixture evenly and firmly into the pan. Make sure the layer is uniform in thickness.
6. **Cool and Set**:
– Allow the Rice Krispie layer to cool completely at room temperature. This will take about 30-60 minutes.
7. **Cut and Use**:
– Once the layer is set, you can cut it into squares, rectangles, or any desired shape.
– Use it as a base layer for other desserts or enjoy it as is!
Tips:
– For an extra flavor twist, you can add a pinch of salt to the butter and marshmallow mixture.
– To make it more festive, consider adding sprinkles, chocolate chips, or other mix-ins to the Rice Krispie mixture before pressing it into the pan.
Enjoy your delicious and crunchy Rice Krispie layer!